Equalization (EQ) is a crucial aspect of music production that plays a vital role in shaping the tonal balance of a mix.
Among the various frequency ranges, the low end is particularly important as it lays the foundation for the entire mix.
In this comprehensive guide, we’ll show you exactly how you can EQ the low end of your tracks for a more professional mix.
Understanding Low End Frequencies
The low end frequency range typically spans from 20 Hz to 250 Hz.
This range encompasses the fundamental frequencies of bass-heavy instruments such as kick drums, bass guitars, and low-frequency synthesizers.
The role of low end frequencies varies across different music genres:
- In electronic dance music (EDM), the low end is often emphasized to create a powerful and immersive experience.
- In hip-hop and rap, the low end is crucial for delivering a strong and punchy beat.
- In rock and metal, the low end provides the necessary weight and depth to the overall sound.
Challenges in Mixing Low End
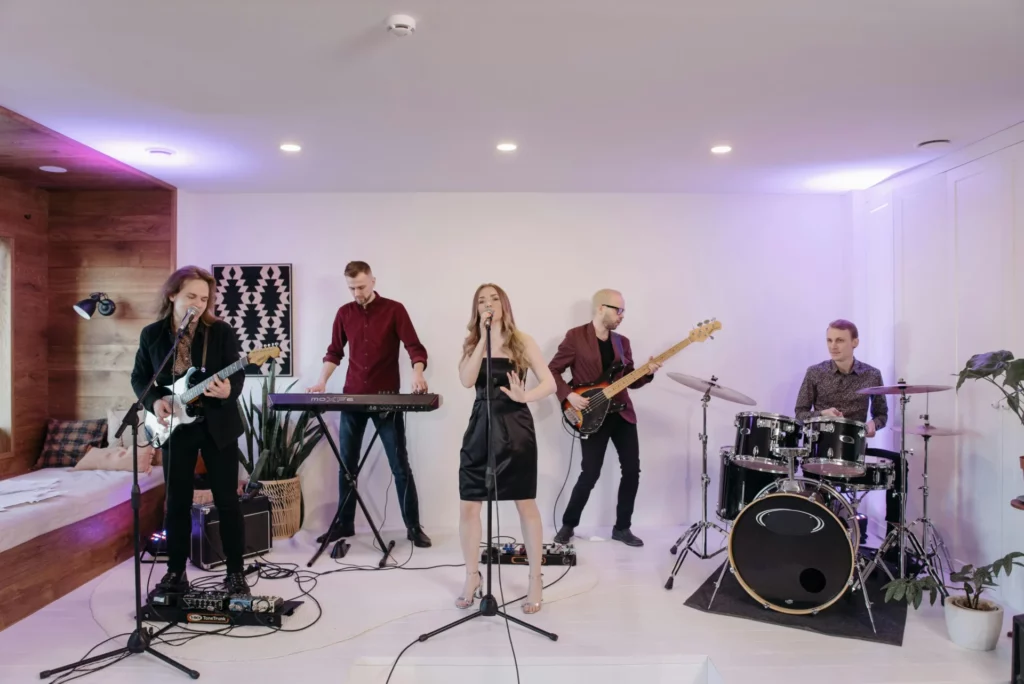
Mixing the low end can be challenging due to several factors:
- Muddiness: When multiple instruments compete for the same low end frequency range, it can result in a cluttered and unclear mix.
- Lack of clarity: Excessive low end can mask the clarity and definition of other instruments in the mix.
- Interference with other frequency ranges: Improperly managed low end can interfere with the midrange and high frequencies, leading to an unbalanced mix.
Room acoustics also play a significant role in low end perception.
Small rooms with untreated walls can lead to standing waves and uneven frequency response, making it difficult to accurately judge the low end balance.
Essential Tools for Low End EQ
To effectively shape the low end, it’s important to understand the different types of EQs available.
High-pass and low-pass filters are essential tools for cleaning up the low end.
High-pass filters remove frequencies below a certain threshold, helping to eliminate rumble and unwanted low frequency content.
Low-pass filters remove frequencies above a certain threshold, useful for taming excessive high frequency content in the low end.
Techniques for EQing Low End
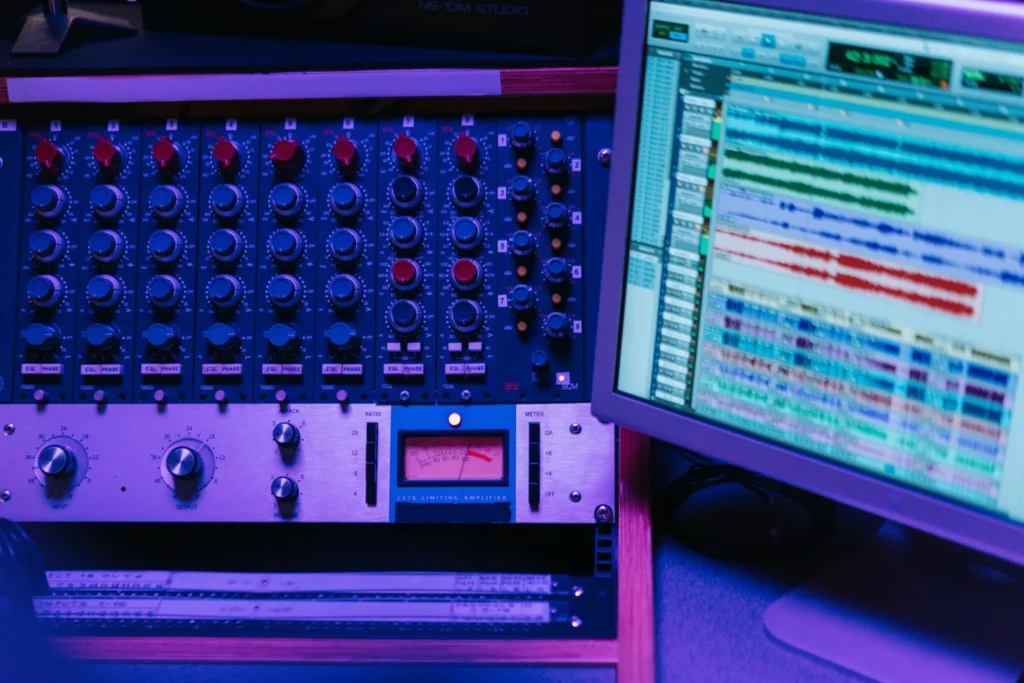
When EQing the low end, two main approaches can be used:
- Subtractive EQ: This involves removing unwanted frequencies to clean up the mix.
- Identify problematic frequencies that cause muddiness or clash with other instruments.
- Use narrow Q settings to surgically remove these frequencies without affecting the overall tonal balance.
- Additive EQ: This involves enhancing certain frequencies to add warmth and presence to the low end.
- Identify the fundamental frequency of the bass-heavy instrument and apply a gentle boost to emphasize its character.
- Use wide Q settings to avoid creating resonant peaks or unnatural-sounding boosts.
Sidechain compression is another useful technique for managing low end conflicts between the kick drum and bass.
By triggering the compressor on the bass track using the kick drum as the sidechain input, you can create space for the kick drum to punch through without compromising the overall low end energy.
EQ Settings for Specific Instruments
Kick Drum
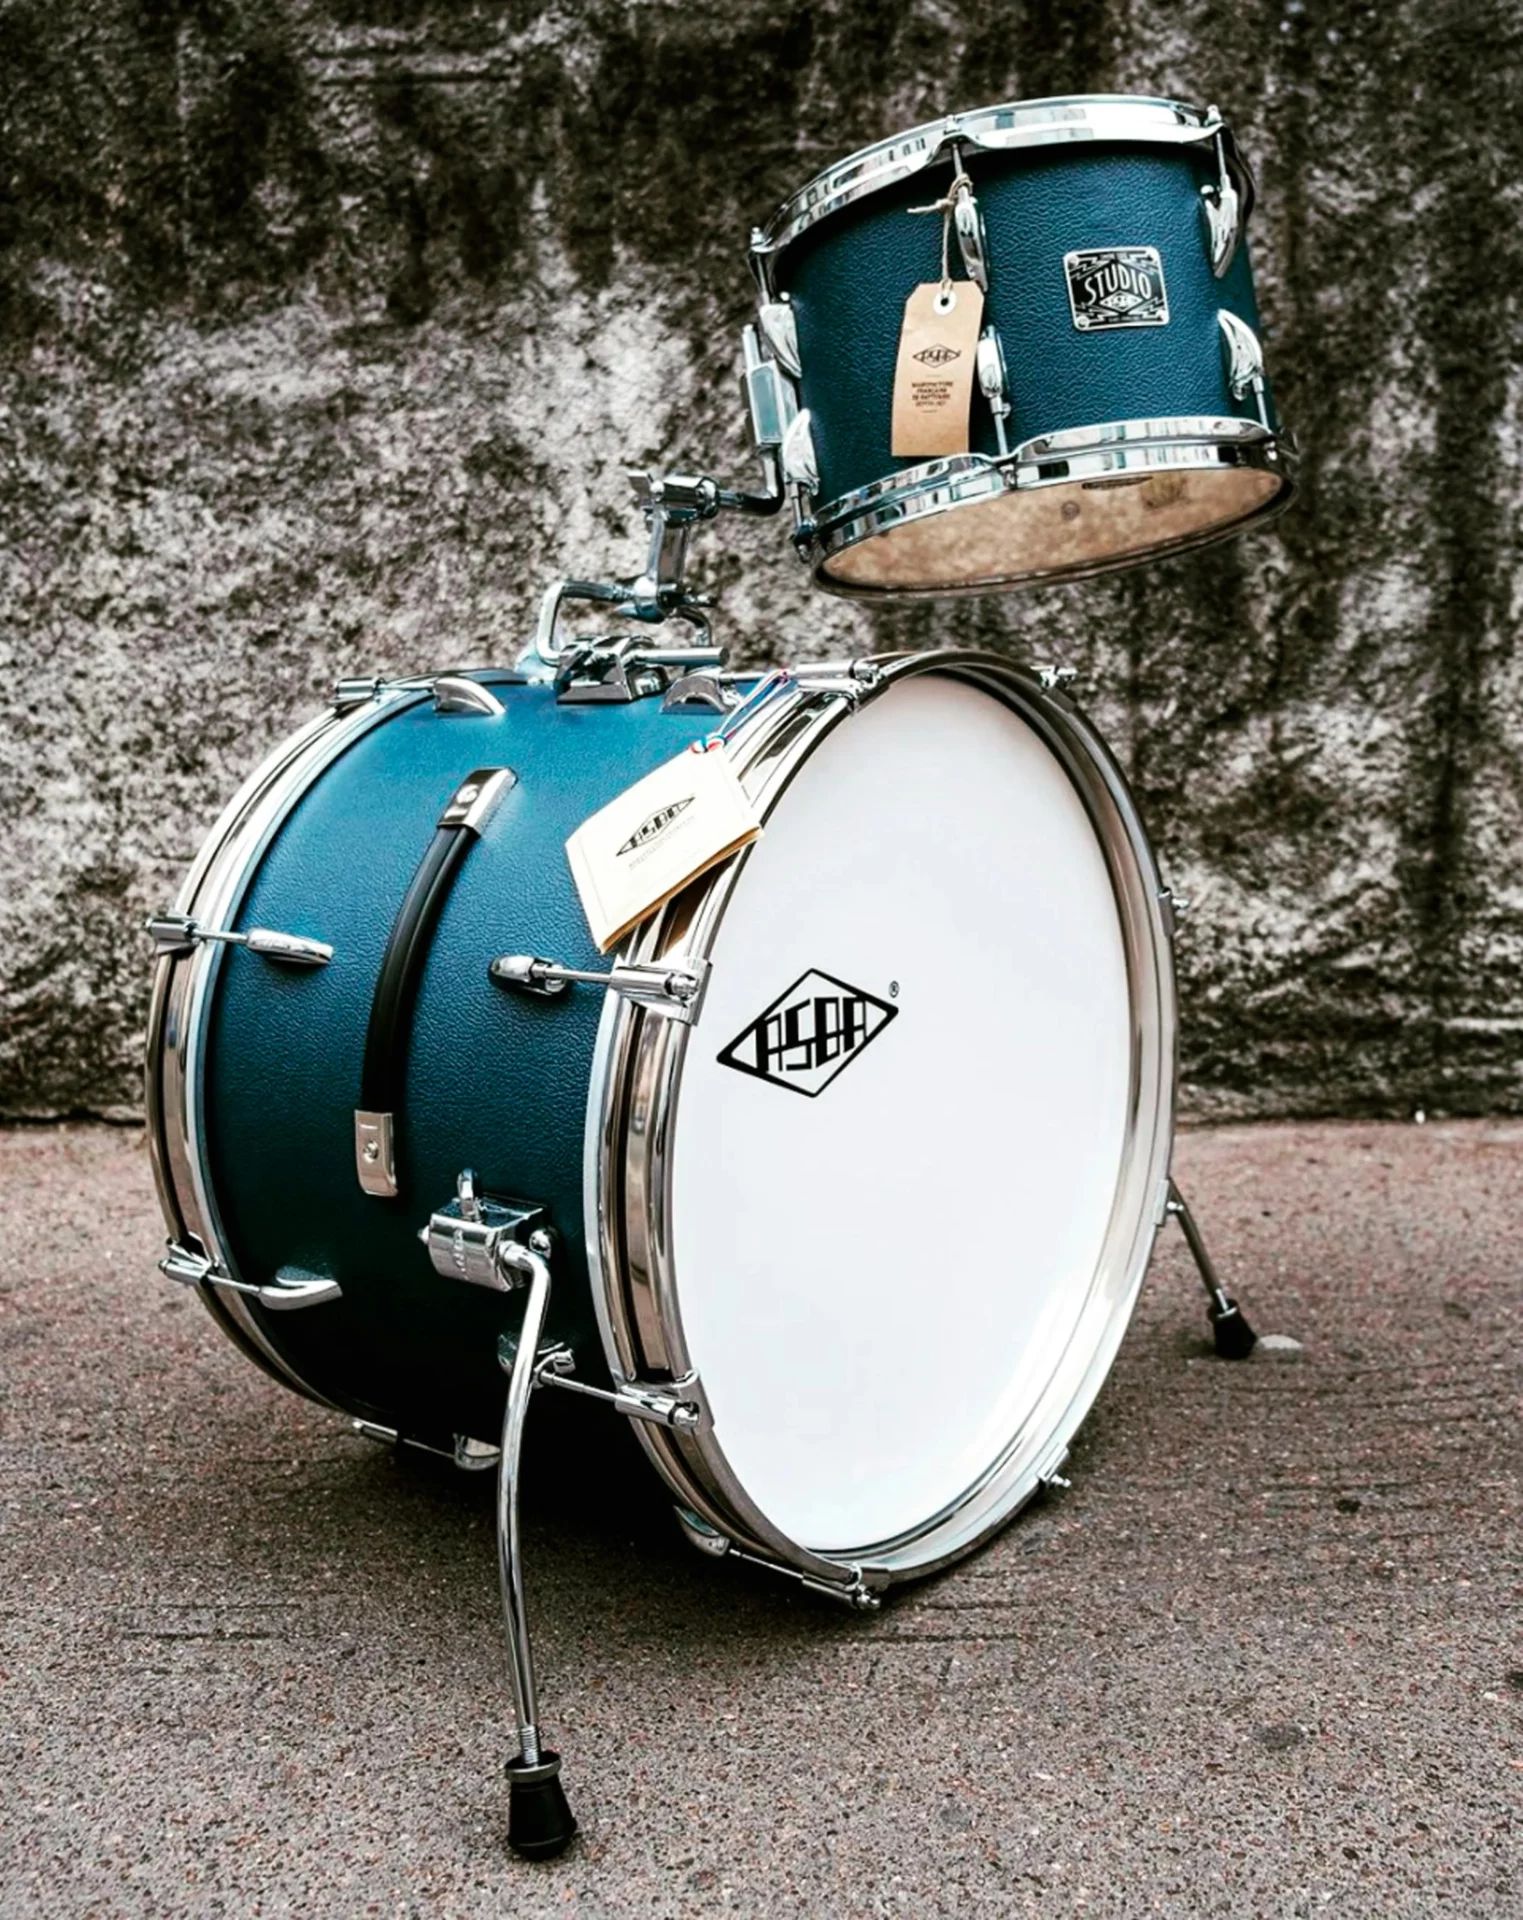
The kick drum is the backbone of many genres, providing the essential low end thump and punch.
To EQ a kick drum:
- Identify the fundamental frequency of the kick, usually between 50-80 Hz.
- Apply a gentle boost around this frequency to enhance the “thump” of the kick.
- Use a high-pass filter to remove any unwanted sub-bass frequencies below 30-40 Hz.
- Apply a subtle boost in the 2-4 kHz range to add attack and presence to the kick.
Bass Guitar
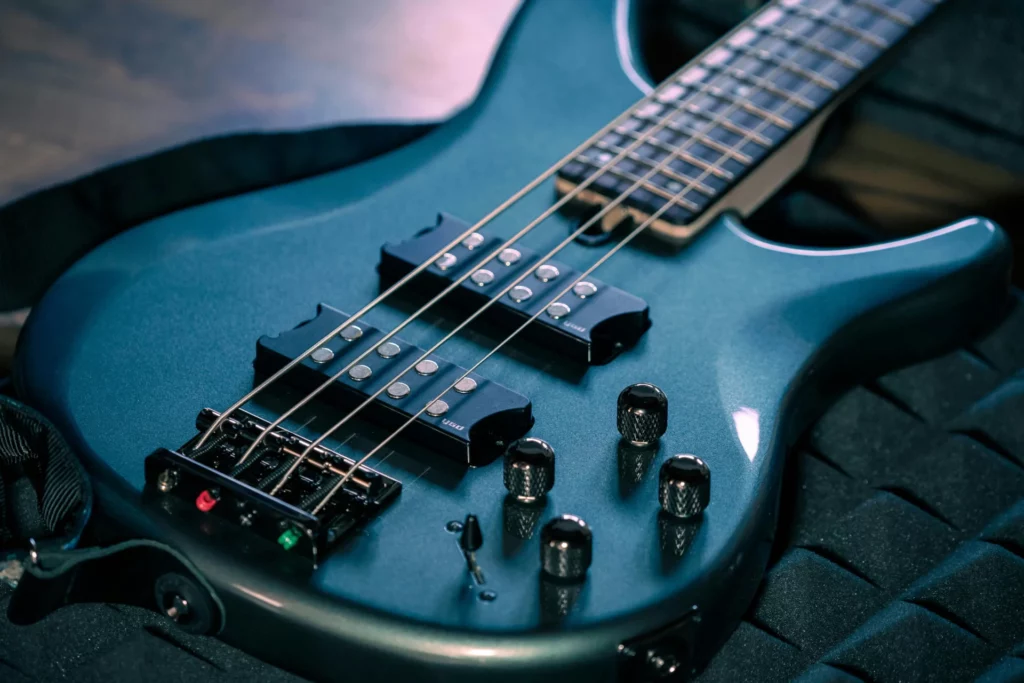
The bass guitar is responsible for providing the harmonic foundation and driving the groove of the track.
When EQing a bass guitar:
- Apply a high-pass filter to remove any unwanted sub-bass frequencies below 40-50 Hz.
- Identify the fundamental frequency of the bass, usually between 60-120 Hz, and apply a gentle boost to emphasize its character.
- Use subtractive EQ to remove any muddy or boxy frequencies in the 200-400 Hz range.
- Apply a subtle boost in the 1-2 kHz range to add clarity and definition to the bass.
Synthesizers and Electronic Bass
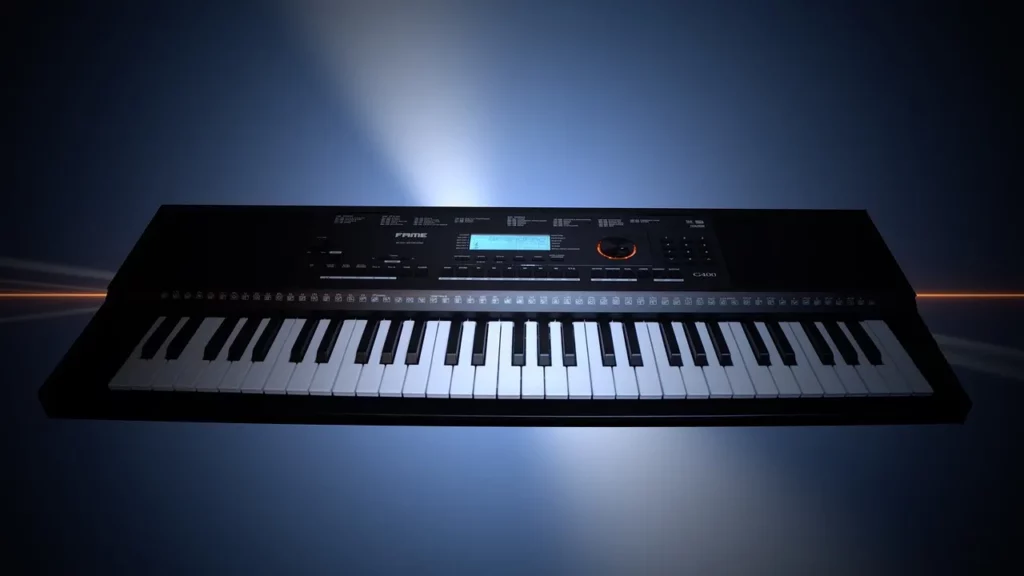
Synthesizers and electronic bass sounds often have a more complex frequency spectrum compared to acoustic instruments.
When EQing these sounds:
- Use a high-pass filter to remove any unwanted sub-bass frequencies that may interfere with the kick drum.
- Identify the key frequency ranges that define the character of the sound and apply gentle boosts or cuts accordingly.
- Be mindful of the stereo image and consider using mid-side EQ to control the width of the low end.
Advanced EQ Techniques
Parallel Processing
Parallel processing involves duplicating the bass-heavy track and applying heavy processing to the duplicate while blending it back with the original.
This technique allows you to enhance the low end without compromising the dynamics and natural character of the original sound.
- Create a duplicate of the bass-heavy track and apply aggressive EQ and compression to the duplicate.
- Blend the processed duplicate back with the original track, adjusting the mix balance to taste.
Mid-Side EQ
Mid-side EQ allows you to separately process the mono (mid) and stereo (side) components of a signal.
This technique is particularly useful for controlling the stereo spread of low frequencies.
- Apply a low-pass filter to the side channel to mono the low frequencies and prevent phase cancellation.
- Use mid-side EQ to widen or narrow the stereo image of the upper harmonics while keeping the low end focused and tight.
Tips for Achieving a Balanced Low End
Monitoring and Listening Environment
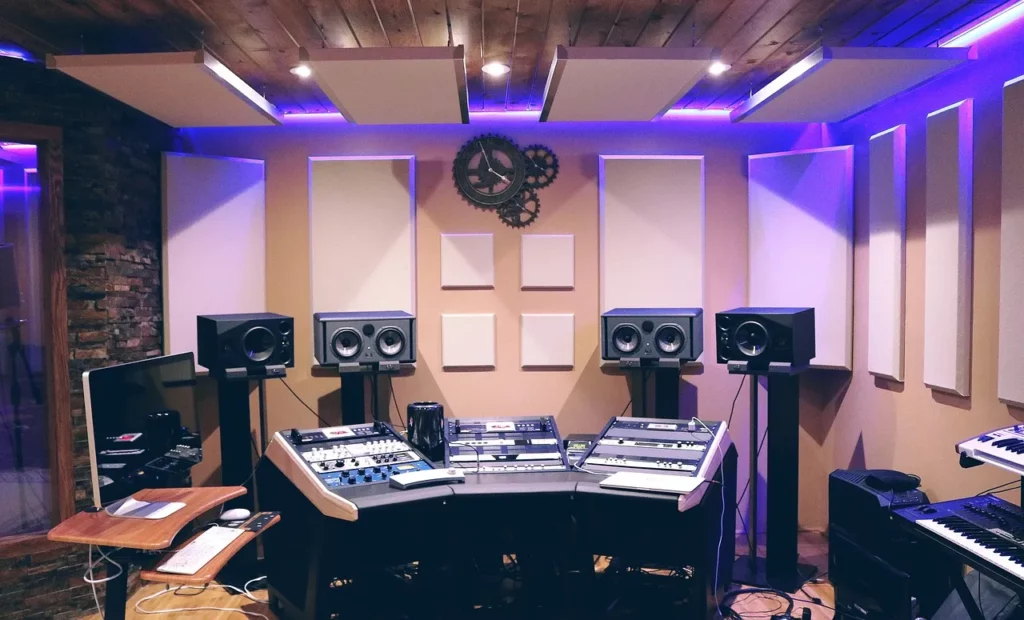
To make accurate EQ decisions, it’s crucial to have a well-treated listening environment and a reliable monitoring system.
- Invest in high-quality studio monitors that provide accurate low end representation.
- Treat your room with acoustic panels and bass traps to minimize reflections and standing waves.
- Use reference tracks to calibrate your ears and ensure your low end balance translates well across different systems.
Reference Tracks
Using professional mixes as reference tracks can guide your EQ decisions and help you achieve a balanced low end.
- Choose reference tracks in a similar genre and style to your mix.
- Compare the low end balance of your mix to the reference tracks and make adjustments accordingly.
- Don’t aim to copy the reference tracks exactly, but rather use them as a general guide for tonal balance and low end presence.
Access 4,000+ Music Tools
Access our entire library of music tools including sample packs, VST plugins, DAW templates, and much more.
Common Mistakes to Avoid
Over-EQing
One of the most common mistakes in low end EQ is applying drastic cuts or boosts.
- Avoid making extreme EQ adjustments, as they can lead to an unnatural and unbalanced sound.
- Use gentle and subtle EQ moves, typically in the range of 1-3 dB, to maintain a natural and cohesive low end.
Ignoring Phase Issues
Improper EQ settings can introduce phase issues, particularly in the low end where wavelengths are longer.
- Be cautious when applying EQ to multiple tracks that occupy the same low end frequency range.
- Use phase alignment tools and listen for any cancellations or loss of low end energy.
- Make sure the polarity of your low end instruments is consistent to avoid phase cancellation.
Case Studies and Examples
To illustrate the concepts discussed in this guide, let’s analyze a few well-mixed tracks and examine their low end EQ techniques.
“Billie Jean” by Michael Jackson
- The kick drum has a tight and punchy low end, with a subtle boost around 60-80 Hz to emphasize the thump.
- The bass guitar has a smooth and rounded tone, with a gentle boost around 100-120 Hz to add warmth and body.
- The low end is well-balanced and sits nicely in the mix without overpowering other elements.
“Royals” by Lorde
- The sub-bass synth has a deep and powerful presence, with a focus on the sub-50 Hz range.
- The kick drum has a clean and defined low end, with a slight boost around 2-4 kHz to add attack and punch.
- The vocals are kept free of low end clutter, with a high-pass filter applied to maintain clarity and presence.
Looking For the Best Music Production Tools Available?
SoundShockAudio has got you covered.
Save time Googling for free tools and subscribe today and access our vast library of over 4,000 tools to create professional-sounding music.
If you need help EQ a specific instrument, check out all our articles on EQing below.



Hey Daniel, was reading the bit about low end mixing challenges. Any tips on how to deal with bass muddiness in small home studios? Thanks man.
The section on parallel processing was enlightening. Applying these techniques has cleared up a lot of issues I had in my mixes. Grateful for the knowledge.
Bass guitar EQ settings are a game changer. Applied some of those techniques and my bass lines are fitting into the mix like never before.
isn’t all this EQ stuff just overcomplicating things? can’t we just fix it by ear instead? just a thought
While trusting your ears is key, understanding EQ techniques allows for more precise adjustments and solutions to common problems.
Gotta agree with AudioGuru89. Knowing the tools and rules before breaking them is crucial in music production.
using mid-side EQ changed how I approach space in my tracks. really useful stuff, thanks!
The EQ settings for specific instruments section was interesting, though I believe there’s always room for personal adjustments depending on the track.
Daniel, could you expand on the importance of monitoring and listening environment? It’s often overlooked but so crucial.
Seriously, this article was a goldmine for someone like me. Synth EQing has always been a mystery, but not anymore.
All these EQ plugins, but it still comes down to having a good ear. Tools are great, but they won’t make you a master. Let’s not forget the art amidst the science.