How To EQ Overheads For The Perfect Drum Recording

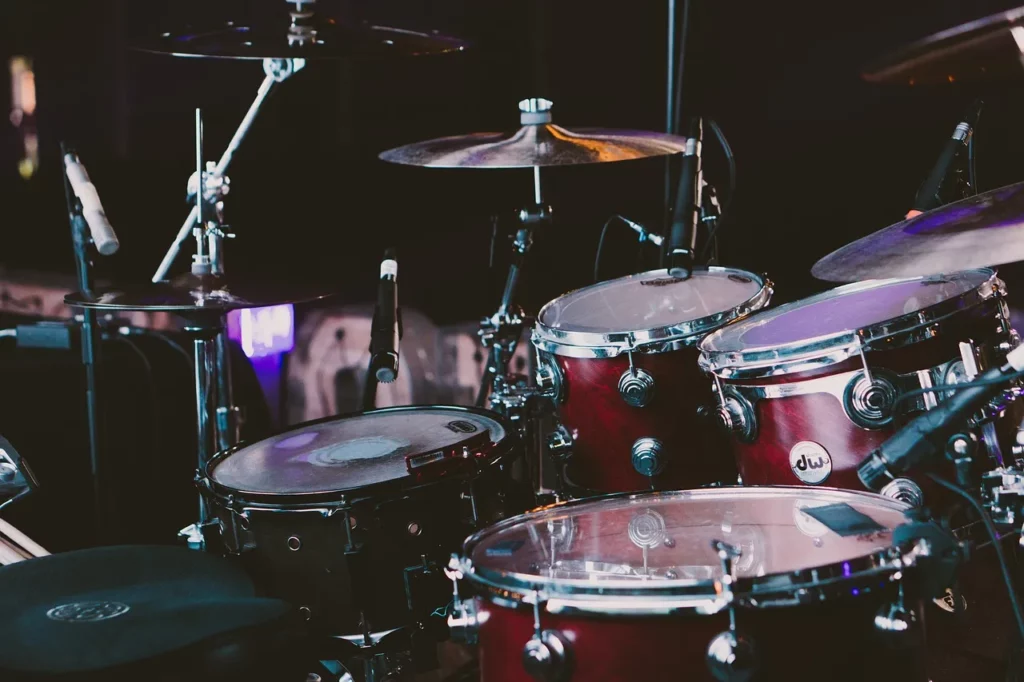
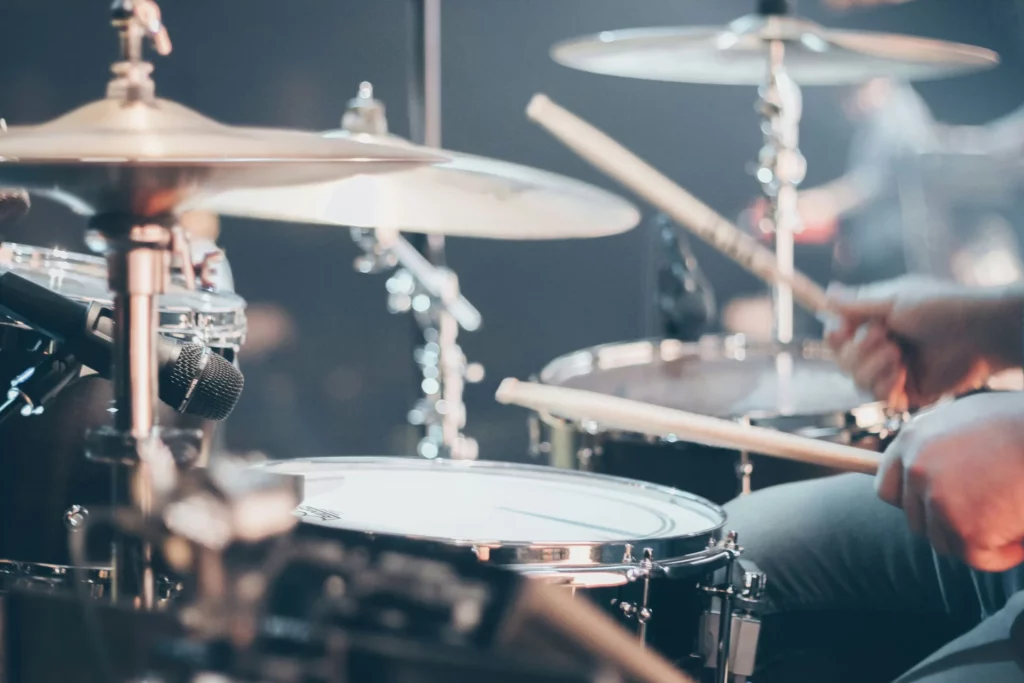
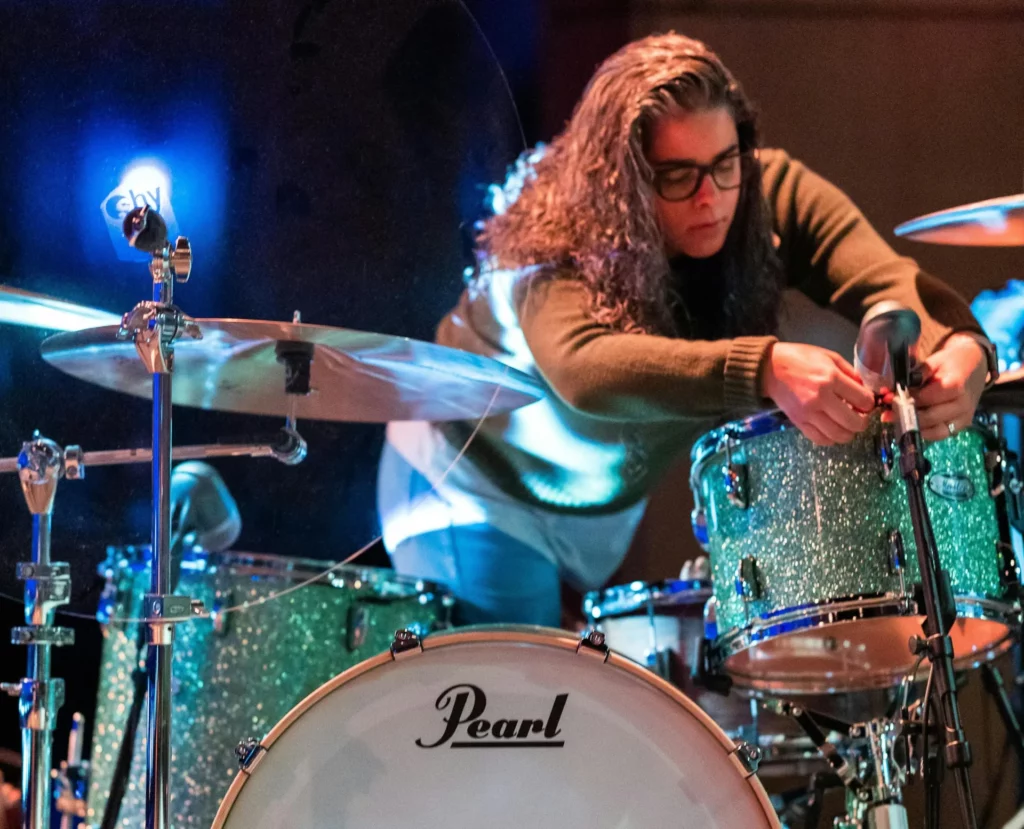
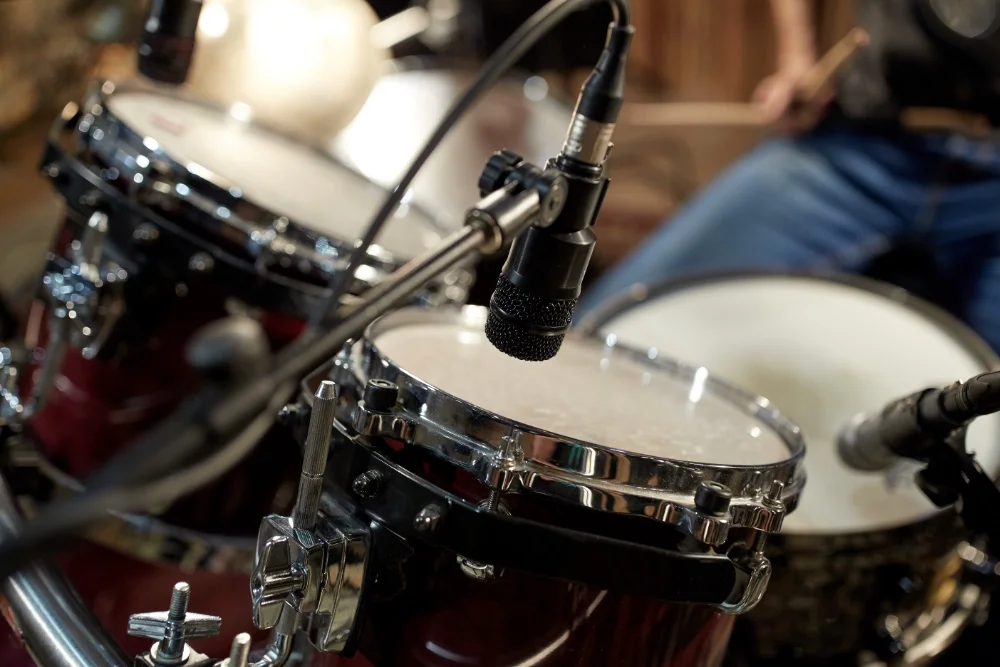
A person is playing drums in a recording studio, focusing on creating the perfect sound.

The perfect drum recording requires a lot of skill, expertise and patience. As an audio engineering consultant, I’m here to help you achieve your desired sound! In this article, I’ll discuss how to EQ overheads for the perfect drum recording. This is a crucial step in achieving the ultimate sonic results from your drums; so if you’re serious about getting that big studio sound – read on!

EQing can be tricky but with my advice and guidance it’s easier than ever! We’ll look at what frequencies need boosting or cutting in order to get the best out of your overhead mics. Having great sounding overheads makes balancing all the other elements of your kit much simpler – so let’s get started!

Finally, we’ll cover some top tips for making sure your final mix comes out exactly as intended. With these techniques you can easily dial in a professional quality mix that sits perfectly within its musical context. So don’t wait any longer – start learning how to EQ overheads for the perfect drum recording today!

Overview Of Overhead Microphones

Have you ever wondered what the best way is to capture a great drum recording? Overhead microphones are essential for achieving this goal, as they provide an all-encompassing representation of the entire kit. As a audio engineer, it’s important to understand how these mics work together with other elements in the signal chain and how to use them effectively when eqing and processing effects.

The frequency range that overhead microphones cover plays a huge role in getting a good sounding drum recording. EQing techniques should be used when setting up your mic placement and sound levels to ensure that each microphone captures its intended frequencies accurately. Additionally, applying subtle effects such as reverb can further enhance the overall sound of the drums if done correctly. With careful consideration for those factors, one will have more control over their recordings and achieve better results from their efforts. To maximize potential, proper setup of overhead microphones during drum recording must be taken into account.

Microphone Setup For Drum Recording

Miking a drum kit can be quite intimidating. It’s important to set up microphones in the right positions to capture each sound accurately and mix them together for a balanced recording. When it comes to capturing an overall drum sound, miking the overheads is essential for getting a great sounding drum mix. Here are some tips on setting up your mic placements correctly:
-Start by placing two condenser microphones (or one stereo microphone) above the drummer’s head at roughly 45 degree angles facing down towards the drums.
-Ensure that both mics are equidistant from the snare and kick drum so you can pick up an even balance of those sounds within the overheads.
-Position the higher side of each microphone closer to the ride cymbal, as this will help bring out more of its brightness when mixing later on.
-Avoid pointing any part of either overhead directly at any other part of the kit; you don’t want any direct bleed into your overheads since they’ll be used to give definition and clarity to all parts of your drum recording mix. With these mic placement techniques, you should have everything ready for balancing out frequency ranges while eqing overheads during post production.

Frequency Range For Eqing Overheads

Though it may seem counter-intuitive, EQing your overheads is a crucial part of recording drums. The frequency range for overhead eqing can be broad and varied depending on the desired result. However, you should always start by setting the mid-range to capture the fullness of your kit’s sound. High frequencies will help bring out cymbals and snare tone while low frequencies will add beefiness and thump to your drum recordings.

When setting up an overhead mic, you’ll want to experiment with different settings before settling on one that works best for your particular setup. Start by dialing in some basic midrange EQ; this will give you a good starting point from which to work outwards. From there, you can manipulate high/low end frequencies until they fit into the mix properly – boosting or cutting as necessary. Experimentation is key here; try adjusting the Q levels along with gain settings to achieve just the right amount of presence without muddying up other parts of the mix. Remember: if something sounds too harsh or boomy, don’t hesitate to pull back on those frequencies until everything sits nicely in place.

In short, when it comes time to EQ overheads for optimal drum recordings, understanding both where and how much to adjust will make all the difference in getting a great sounding take. With practice and patience, you’ll soon find yourself at home in any studio – being able tweak each track quickly and efficiently for killer mixes every time! Moving forward we’ll discuss how high-pass filtering & low-pass filtering are used during this process effectively within the context of mixing drums.

High-Pass Filtering And Low-Pass Filtering

High-pass and low-pass filtering are two essential steps when EQing overheads. A high-pass filter is used to attenuate frequencies below a certain cutoff point, while the low-pass filter does the opposite – it reduces the higher frequency range above a specified threshold. This helps keep unwanted or excessive low end and high end noise out of your overhead recordings. Both filters should be set according to the desired sound you wish to achieve in order to create an even and balanced mix.

In addition, these filters can be used as a means of boosting or cutting specific frequency ranges that need emphasis or reduction. For instance, if there’s too much cymbal bleed in your recording, you might want to use a high-pass filter at around 4 kHz so as to reduce those higher frequencies without affecting other crucial elements like kick drums or snare drums. Similarly, using a low-pass filter at 10 kHz can help remove any excess highs from your overheads without taking away from their overall clarity and presence. By carefully tweaking both filters, you’ll have more control over how each element sits within your mix and ultimately lead to better sounding results. From here on out we’ll look into making boosts and cuts using eq for further sculpting of the drum tones.

Boosts And Cuts Using Eq

When it comes to EQing overheads, boosting and cutting frequencies can make a huge difference. For example, you may want to boost high end frequencies for clarity or cut low mid-range frequencies to reduce mud. The key is finding the right balance of frequency adjustment that complements your overall drum sound.

To achieve this balance, start by boosting the higher frequencies with an eq boost around 6kHz – 10kHz. This will bring out the cymbals and add clarity without overpowering the other elements in the mix. When adding boosts be sure not to go too far as it may muddy up other instruments in the track. Additionally you can use eq cuts to remove any unwanted noise such as resonant peaks or boxy sounds. By strategically cutting certain frequencies you can clean up the overhead track’s tone and give space for other instruments in your mix.

EQing overheads requires patience and experimentation so take your time when adjusting your settings until you get a result that compliments your overall drums sound. Moving on from here we’ll look at how effects processing can help shape our overhead’s tone even more.

Effects Processing On The Overhead Track

Taking a step back in time to the days of analog recording, before digital technology had taken over and changed the way music was recorded, engineers were forced to be more creative with their gear. As such, they often used outboard effects processing on their overhead recordings for additional texture and depth. Nowadays, we can still use these same techniques – like drum reverb, overhead compression, overhead reverb, EQ saturation and even overhead delay – to get that vintage sound while also achieving new sounds.

When it comes to utilizing effects on your overheads there are a few important things you should consider: first off is the level at which you apply them; too much will muddy up your mix but too little won’t have any effect whatsoever. Secondly, make sure all effects are set to “pre-fader” so as not to affect levels during mixing. Finally, always remember less is more when applying effects – subtlety goes a long way!

Now that you’ve processed your overheads with some great sounding effects, it’s time to finalize your drum recording by dialing in just the right amount of EQ.

Finalizing Your Drum Recording With Eq

Now that you have applied effects processing to your overhead mics, it’s time to finalize the drum recording with eq. The first step is to identify which frequency range needs attenuation and which range can be boosted for better sound quality. To make sure the drums are heard clearly, look for frequencies in the midrange between 200-400 Hz and then boost them slightly. For a more focused kick sound, try attenuating some of the low end around 80-100Hz. Additionally, if there is too much snare bleed in your overheads, use an EQ to cut back on those frequencies from 1 kHz up to 4 kHz. Once these adjustments have been made, listen carefully before adjusting any further.

These small tweaks will help bring out the best qualities of your drum recording while keeping everything balanced and natural sounding. With this approach, you should find yourself with a great result that captures all the energy and emotion of your performance!

Frequently Asked Questions

What Is The Best Mic Placement For Recording Drums?

As an audio engineering consultant, I’m often asked what the best overhead mic placement is for recording drums. This is a crucial technique that can have a huge impact on the sound of your drum recordings. The right mic positioning will ensure you get full and balanced coverage while avoiding any unwanted noise or distortion. With the correct placement of both overheads and other mics, you’ll achieve maximum clarity and depth in your recordings.

When it comes to overhead mic placement for drums, there are several techniques to consider. One popular approach is to set up two microphones above the kit at a distance of about three feet from each other. From here, they should be angled slightly towards the center of the kit – this helps create a sense of space with clear separation between instruments. Additionally, having one microphone higher than the other can also help capture more detail from cymbals without sacrificing low-end presence in kick and snare sounds. Of course, experimentation with different placements will yield different results depending on your individual setup and preferences.

No matter which approach you take, make sure to use high quality microphones designed specifically for capturing drums – these will provide superior frequency response and better overall performance than general purpose mics. It’s also important to pay attention to levels when setting up your system; too much gain can easily lead to distortion or feedback so keep those settings checked! Ultimately, selecting the right combination of mics and finding the perfect balance between them is essential for achieving great sounding drum recordings every time.

What Type Of Eq Should I Use When Mixing Drums?

When it comes to eq-ing drums, there are a few key elements to consider. Firstly, what type of eq should be used? Secondly, which frequencies need attention in order to achieve the desired sound. And finally, how can these settings and techniques be implemented for the best results?

The answer to this question largely depends on the genre or style of music being recorded as well as personal preference. Generally speaking though, when mixing drums, an EQ may be used to adjust the balance between different drum mics by cutting and boosting specific frequency ranges. This is especially true for overheads where subtle changes in tone can make a big difference in how the entire kit sounds.

For starters, start with cutting out any low end rumble from your overhead mic signal using a high pass filter (HPF). This will help prevent unwanted bass frequencies from masking other instruments in the mix. Additionally, you may want to add some low-mid bump around 400Hz – 800Hz depending on the size of your kit and/or room acoustics. In addition, adding presence around 4kHz – 8Khz can really bring out cymbal details while avoiding harshness at 10kHz plus range. Of course, these settings are simply guidelines and experimentation is encouraged! It’s all about finding that sweet spot between clarity and warmth; so feel free to tweak away until you get it just right!

How Can I Create A More Natural Sound When Eqing Overheads?

As an audio engineering consultant, I’m often asked how to create a more natural sound when EQing overheads. Understanding the basics of drum eq techniques is essential for achieving great results in recording drums. To get started, it’s important to think about what kind of ambience you want your drums to have. Do you want them dry and punchy? Or do you prefer some reverb with plenty of sustain?

Once you’ve decided on the overall tone that suits your track best, it’s time to start dialing in your overhead mic EQ settings. Typically, if there are too many low frequencies coming through on the mics, they can make the drums sound dull and muted – so cutting out any unnecessary lows will help bring clarity back into the mix. On the other hand, boosting certain mid-range frequencies can add depth and warmth while also helping to create a more open sounding drum kit. Finally, be sure not to forget about high end – adding just enough top-end sparkle will give your drums real presence in the mix without being harsh or brittle.

Ultimately, getting creative with your drum eqing techniques is key when it comes to finding that perfect balance between a tight and punchy sound as well as creating an organic feel with natural ambience around the kit. Experimentation is encouraged here; never be afraid to play around with different combinations until you find something that works!

What Type Of Effects Should I Use On The Overhead Track?

When considering what type of effects to use on the overhead track, audio engineers should take several factors into account. These include compression techniques, dynamic range, frequency shaping and stereo imaging. To ensure a more natural sound when eqing overheads, these effects must be applied in an appropriate manner:

*Compression Techniques:
*Limiting – this technique is used to prevent distortion by limiting how loud the signal can get without affecting its dynamics.
*Multiband Compression – this effect allows you to compress specific frequencies within the mix while preserving other areas of the track. This helps create balance across all frequencies for a clearer overall sound.

*Dynamic Range:
*Reverb – adding reverb creates depth and space in your mix that can help make the drums sound bigger and fuller.
*Delay – delay adds texture and movement which can improve clarity between different elements of the drum kit as well as creating wider sounding mixes with less effort.

*Frequency Shaping:
*EQ – EQ is essential for balancing out individual sounds so that they fit together nicely in the mix but also for boosting or cutting certain frequencies depending on their purpose in the song. It’s best practice to start with broad strokes then hone in on finer details after listening back through monitoring systems or headphones.
*Filter Effects – filter effects like high-pass filters are great tools for removing low end rumble from cymbals or kick drums that may muddy up your mix if left unchecked. They are also useful for giving instruments such as strings a softer edge or making vocals stand out more clearly against dense instrumentation.

*Stereo Imaging:
*Panning – panning involves placing each element at different positions along the left/right spectrum to give them ‘space’ within our mix so they don’t overlap too much and crowd one another out sonically speaking. Some people prefer hard panned sounds whereas others go for more subtle shifts; it really depends on personal preference and what works best for the particular track being produced.
*Width Enhancers– width enhancers allow us to widen any mono signals we have recorded via microphones so that they occupy both sides of our stereo field instead of just occupying one side exclusively (left or right). This has several benefits including improving clarity between multiple tracks playing together as well as helping create a larger sense of space within our mix overall.

In sum, utilizing compression techniques, dynamic range adjustments, frequency shaping methods, and stereo imaging applications will help engineers achieve better results when eqing overheads due to improved control over various aspects of their production process resulting in higher quality recordings overall.

How Do I Know If My Drum Recording Is Ready To Mix?

If you have spent hours and days of hard work recording drums, the last thing you want is for them to not be mix ready. Knowing when your drum recordings are ready to mix can make or break a project. To assess if your drums are ready to go into mixing, there are several steps that need to be taken:

  • Perform a sound check on all drum tracks
  • Make sure EQ levels are balanced for each track
  • Check dynamic range between different elements in the kit
  • Monitor how individual components blend together

These checks will help determine whether your drum recording is as close to perfect as it can be before entering the mixing stage. As an audio engineering consultant, I always recommend starting with these basic principles. You should use proper techniques such as eqing overheads during the sound check process so that once it’s time to move onto mixing, everything is already at its optimal level. This will give you more control when creating effects like reverb and delay while not compromising any other parts of the track. Furthermore, listening back through monitors instead of headphones gives even greater insight into what needs to be tweaked further – making sure every element sits perfectly within the mix. It’s also important to double-check by comparing takes against similar genre references in order to get a better idea of where your own mixes sit compared with industry standards. With this knowledge, producers and engineers can ensure their recordings reach their full potential before sending off for mastering.

The key takeaway here is that assessing if your drum recording is mix ready requires attention and effort from start to finish – including checking dynamics, blending components together and using appropriate mixing techniques such as equalizing overhead mics correctly – but doing so ensures a great final product!

Conclusion

As an audio engineering consultant, it’s my pleasure to say that after following the steps outlined in this article, you should now be able to EQ overheads for a perfect drum recording. With careful mic placement and the right type of EQ, effects and processing, your drums will sound natural and vibrant.

No matter how experienced you are with mixing drums, there is always something new to learn. Mixing can take time and practice to master but once you get into the groove of things, it’ll become second nature! To make sure your drum recording is ready to mix, listen back closely and use your ears as a guide. If any parts feel too loud or quiet then adjust accordingly.

At the end of the day, knowing when enough is enough is essential if you want to create great sounding recordings. Don’t go overboard with EQing or adding effects – keep it simple and don’t be afraid to experiment. Good luck on your journey towards creating awesome drum recordings!

Looking for a one-stop-shop for all your music production needs?

“SoundShockAduio

Subscribe to SoundShockAudio and access our vast library of tools, including VST Plugins, DAW templates, sample packs, and more.

Need more help when it comes to EQing? Check out the article, .

Also check out this other article how to eq live vocals, for more EQing tips.

Daniel Strongin

Daniel Strongin

Daniel Strongin, founder of SoundShockAudio and a Pyramind Music Production School graduate, is a renowned figure in the music production world. His expertise was honed as an editor and writer for prominent music production sites like The Pro Audio Files, Envato, and Producer Spot. Daniel's music production chops include creating top-ranked sample packs for Audentity Records and Sample Magic, featured on Splice and iZotope His talent has also led to viral tracks on esteemed labels like Liftoff Recordings. At SoundShockAudio, Daniel leverages his experience to offer 4,000+ of the best free music production tools, including VST Plugins, Sample Packs, and more, alongside in-depth music gear reviews.