If you’re an audio engineer who needs to EQ room mics for maximum clarity, then this step-by-step guide is just what you need. I’ve been in the business of recording and mixing music for a long time now, and have developed some tried-and-true techniques that will help take your sound to the next level. Here, I’ll be sharing my knowledge on how to get those room microphones sounding crisp and clear with equalization—without ever compromising quality or fidelity.
EQing can often seem daunting, but it doesn’t have to be! With the right approach and understanding of frequencies, anyone can achieve professional results. In this article, I’ll walk you through each step of the process so that you can start crafting high quality mixes quickly and easily. You’ll learn how to identify problem frequencies in your recordings and make informed decisions about which ones should stay and which ones should go.
By following these simple guidelines, you’ll soon find yourself producing better sounds than ever before! So let’s get started!
Setup Overview
Have you ever wanted to capture the perfect sound of a room? Do you know how to make sure your room mic setup is optimal for clarity and accuracy? When it comes to capturing great audio, making the right microphone selection, placement and equalization adjustments can be key. In this guide, I’ll walk you through the process of setting up room mics for maximum clarity and provide some helpful tips on frequency adjustment along the way.
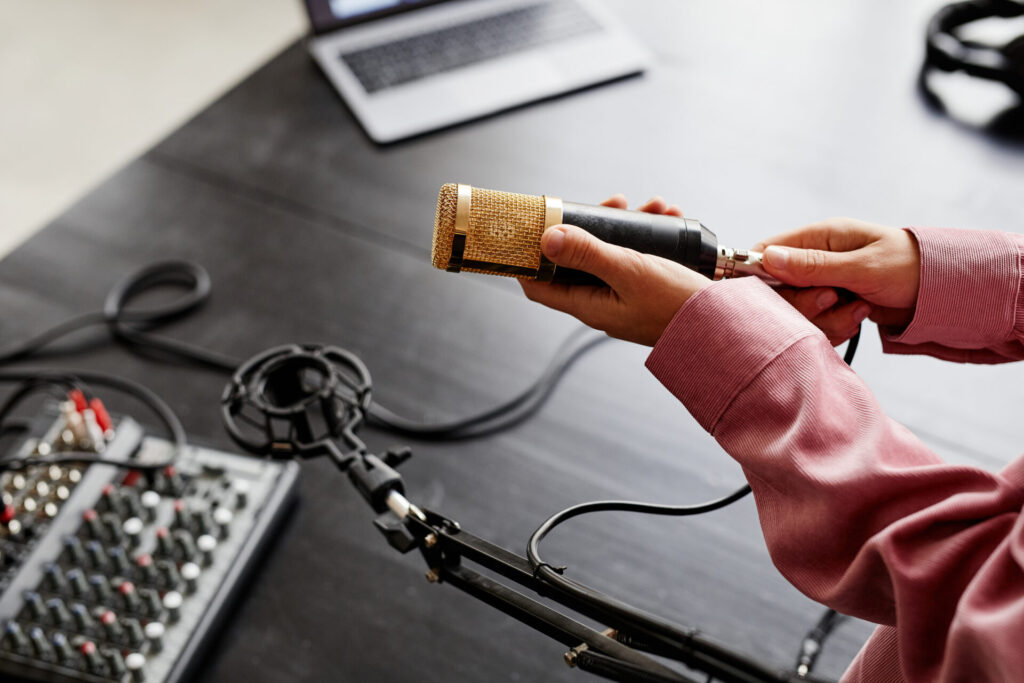
When it comes to selecting microphones for your room mic setup, there are many options available today. You’ll want to pay special attention to features such as sensitivity level, polar pattern (directional vs omni-directional), frequency response range, preamps or other built-in circuitry. All these factors will play an important role in getting the most out of your recording environment. Once you have chosen the right microphones for your needs, proper placement within the space should also be considered. Depending on what type of sound you’re after, placing mics at different angles around the room may help focus in on particular frequencies or sounds more effectively than others.
For achieving optimum results with your recordings, adjusting frequencies using a digital equalizer (EQ) can add nuance and depth that often gets lost without EQing. With careful consideration when making changes to various parameters like gain levels and filter settings, one can easily enhance their recordings by fine-tuning each individual track’s sonic character. Now let’s move onto choosing the right microphone for our next step.
Choosing The Right Microphone
Now that we’ve gone over the setup overview, it’s time to choose the right microphone for our room mic eq. When selecting a microphone type, there are several criteria to consider: sensitivity, frequency response, polar pattern and off-axis rejection. Each of these characteristics affects how sound is captured from various directions and distances in the room.
When comparing different types of microphones for your room mic application, keep in mind that dynamic mics tend to provide more directional control than condenser mics due to their narrower pickup patterns, but may not capture as much subtle detail or high frequencies. Condenser mics have wider pickup patterns so they’re better suited for capturing sounds from distant sources with clarity and accuracy but can be prone to feedback if positioned too close to a speaker. Ultimately, selecting the right microphone depends on its intended use and desired results.
The next step is positioning and placement of the room mics – where should you place them around the recording space?
Positioning And Placement Of Room Mics
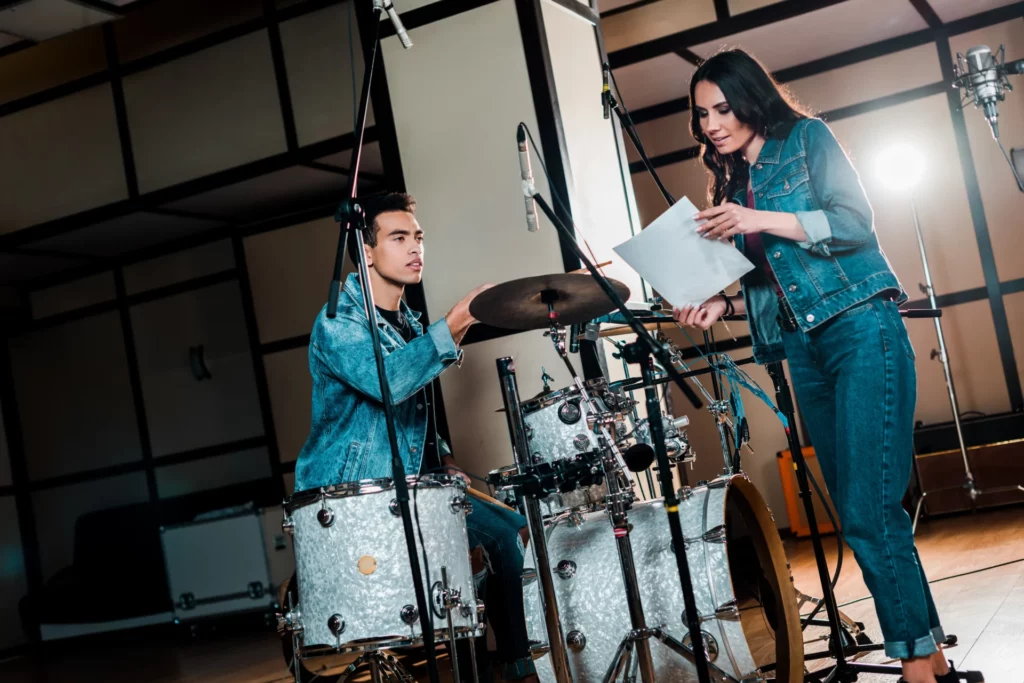
Positioning and placement of room mics are key for achieving maximum clarity. It is essential to ensure that the mic is placed in a way that allows it to capture the desired sound without interference from other elements in the room. Here are some tips on how to efficiently set up your room mics:
- Place the mics at an angle, rather than directly facing one another, so they can better capture different sounds within the space.
- Position them close enough together so as not to lose any important details but far enough apart to avoid phase issues.
- Experiment with different combinations of polar patterns – cardioid, figure-8, omni – in order to achieve the best results possible.
- Consider using multiple mics if you have more than one instrument or vocalist playing simultaneously; this will allow each channel to be recorded separately while still providing a balanced mix overall.
When setting up your room mics, remember that proper positioning and placement can make all the difference between a clear recording and a muddy mess! The wrong setup could lead to low-end frequencies dominating the mix or too much noise being picked up by the microphones. Keep these strategies in mind when adjusting your microphone positions for optimal sound quality and clarity. With careful consideration given to these factors during setup, you’ll be ready to move onto frequency adjustment strategies next!
Frequency Adjustment Strategies
When it comes to frequency adjustment strategies for room mics, mic placement is key. Experimentation with placement of the mics within the room will help to achieve maximum clarity in your recordings. Additionally, mixing compression and gating techniques can also be utilized to assist in achieving a desired sound. When working with multiple mics placed around a room, use EQ software or an analog processor to adjust each mic’s frequency response individually and create a balanced mix that best suits your purposes. This allows you to make specific adjustments depending on what works best for your particular setup.
EQing individual frequencies helps ensure that no single element dominates the recording while still allowing each part of the mix its own sonic space. With careful manipulation of gain, panning, and equalization settings, engineers are able to craft a pleasing blend between instruments and vocals without compromising overall clarity. With these tools at their disposal, audio engineers can further refine their mixes by boosting certain frequencies and cutting others until they reach optimal balance across all channels.
Equalization Techniques
Equalizing room mics for maximum clarity can be a daunting task. It’s like entering an unknown world of frequency balancing, equalizer settings and room mic mixing. But with the right techniques, you’ll find that achieving the perfect sound is within reach.
When it comes to equalization tips, there are few things more important than understanding your source material and its acoustic properties. Every room has different characteristics and requires a tailored approach when setting up your room mic eq. First, start by listening to each microphone one at a time in order to identify any low-frequency rumble or high-frequency harshness that needs addressing. Then use an EQ plug-in on each channel to adjust the frequencies accordingly until levels feel balanced throughout all microphones. This will ensure consistent audio quality across multiple takes as well as greater overall clarity in the mix. Remember: when adjusting equalizer settings, always make sure not to overdo it – less is often more! With these steps you should now have a good starting point for fine tuning your room mic eq setup. Now let’s move onto gating and compression settings which help shape final results…
Gating And Compression Settings
Once you’ve set your eq levels on the room mics, it’s time to focus on gating and compression settings. Gating is a great tool for maximizing clarity in a mix by cutting out any unwanted background noise or ambience. When setting up the gate, a good rule of thumb is to adjust the threshold until only desired sound passes through. Compression can also help enhance the overall clarity of room mic signals. Start by listening closely and adjusting attack and release times so that transients are preserved without mudiness. A higher ratio will provide more punch but too much can lead to distortion – experiment with different settings and find what works best for your mix. With both gating and compression dialed in correctly, your room mics should be sounding crystal clear! The next step is finalizing the mix with any additional processing needed for balance, depth, and definition.
Finalizing The Mix
Finally, your mix is ready for the world to hear. Or is it? While we may believe that our sound capture has been perfected and all room acoustics are accounted for, one of the last steps in audio engineering is often overlooked: equalizing room mics for maximum clarity.
Room Mics | EQ Settings |
---|---|
Low End | Cut 4Hz |
Mid Range | Boost 8kHz |
High End | Cut 12kHz |
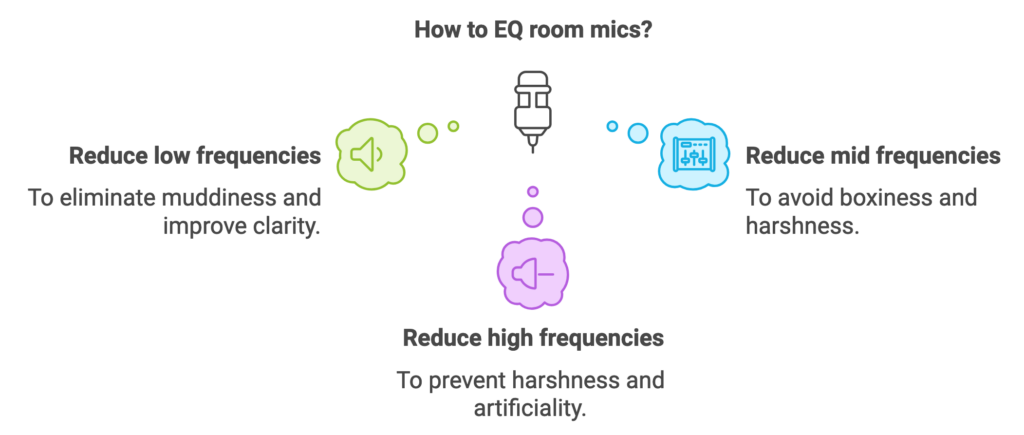
Eqing a mix can be tricky but essential when it comes to achieving dynamic range. When eqing room mics, you should aim to cut lows below 100hz as they tend to muddy up the signal and boost highs around 5-10khz which will add clarity. Keep an eye on what frequencies are being boosted or cut so you don’t overdo it; too much boosting or cutting can make the mix dull and lifeless. Lastly, never forget about mid range frequencies! These provide most of the presence in a sound and help bring out nuances in recordings that would otherwise go unnoticed. With these tips in mind, you’ll be well on your way to finalizing your mix with maximum clarity.
Frequently Asked Questions
How Do I Know What Type Of Microphone To Use For Room Mics?
Selecting the right microphone for room mics is an important part of achieving maximum clarity in a sound mix. Knowing which type to choose can be tricky, so it’s best to familiarize yourself with the different types of microphones available. Each one has its own strengths and weaknesses when used as room mics, and understanding those nuances can help make sure you pick the best mic for your project.
When considering microphone selection for room mics, there are several factors to consider. You’ll want to look at each microphone type individually and determine how they will work in your particular setup. Generally speaking, dynamic or condenser microphones are the most suitable choices for capturing room sounds accurately. Dynamic mics have a greater tolerance for high SPLs (sound pressure levels) than condensers but tend to lack some detail due to their lower sensitivity and frequency response range. Condensers on the other hand, offer more detailed audio quality but require additional preamplification since they’re not capable of handling high SPLs without distortion.
It’s important that you do your research before making a final decision about what type of microphone to use for your room mics. There are many options out there, so taking the time to read reviews from experienced engineers who’ve used specific mic models before can ensure that you get the best results possible from your setup. Understanding how each type works in certain situations gives you an advantage when it comes to selecting just the right mic choice for maximum clarity in any given environment.
What Is The Optimal Distance Between The Room Mic And The Sound Source?
When it comes to optimizing the sound quality of a room mic, one important factor to consider is the distance between the microphone and the sound source. Room mics should be positioned close enough to capture all of the desired sonic elements in a space; however, they must also be far enough away that they do not pick up too much direct sound from each vocalist or instrument. Finding this optimal distance can be tricky, but with some trial and error, an experienced audio engineer can determine what works best for their specific situation.
The precise distance between a room mic and its corresponding sound source will depend on several factors such as size of the room, acoustics of the environment, type of microphone being used, etc. Generally speaking though, it’s recommended that room mics are placed no closer than three feet away from any sound sources so as to avoid excessive bleed into the signal chain. It may take some experimentation to find the sweet spot—some microphones might require more distance while others less—but once you have it dialed in correctly your recordings should benefit greatly from improved clarity and definition.
In order to achieve maximum clarity when using room mics for recording purposes, careful attention must be paid to proper microphone positioning and finding the optimal distance between them and their respective sound sources. With a bit of practice and patience anyone can master this technique and start producing higher-quality recordings.
What Is The Difference Between Gating And Compression Settings?
Gating and compression are two different processes with distinct parameters that audio engineers use to create clarity in a recording. Gating is used to filter out noise or unwanted signals from the audio while compression is used to even out louder and quieter sounds. Both of these tools can be adjusted by changing their parameters, allowing engineers to further refine their sound mix.
To understand the difference between gating and compression settings, it’s important to look at each one separately. Gating involves setting up thresholds for volume levels – anything below the threshold will be filtered out automatically so that only desired sound elements remain. Compression, on the other hand, works by reducing the dynamic range of an audio signal when its loudest parts exceed a certain level; this helps make sure all aspects of a track come through evenly without overpowering any specific element of the sound mix.
In terms of room mic eq, both gating and compression can help achieve maximum clarity depending on what needs to be done with the audio source being recorded. If there are sections where background noises need to be eliminated then gating would be more effective whereas if dynamics need evening out then compression should do the trick. Ultimately, which one should be used depends entirely on how much control over volume levels is required for a given situation.
How Should I Adjust The Eq Settings To Achieve The Best Sound Quality?
Adjusting the EQ settings to achieve optimal sound quality is a crucial step for any audio engineer. It’s often said that “good music starts with good mixing,” and this could not be more true when it comes to room mic eq. Knowing how to properly adjust the EQ will ensure your recordings have maximum clarity and an improved overall audio quality.
When adjusting room mic eq, there are several key steps you should take in order to achieve the best results:
- Start by ensuring all microphones used are at equal distances from each other; this ensures evenness of sound levels throughout the recording space
- Adjust each microphone’s gain level until they reach similar volumes; being able to hear each microphone clearly helps make sure none of them are overpowering or getting lost in the mix
- Finally, tweak the EQ settings on each mic according to what sounds best – lower frequencies can generally cause muddiness while higher frequencies help bring out detail and clarity.
By taking these steps, as well as experimenting with making subtle adjustments to further refine your recordings, you’ll be able to get every track sounding crisp and clean before mastering. Remember, small changes can often make a big difference so don’t be afraid to experiment! With patience and practice, achieving great sound quality through proper room mic eq tuning is definitely within reach.
What Are The Best Techniques For Avoiding Feedback When Using Room Mics?
When it comes to using room mics, feedback can be a major issue. If not addressed properly, it can ruin the sound quality of any audio recording. Fortunately, there are several techniques that experienced audio engineers use to prevent this from happening and achieve clarity when setting up their microphones.
The key to avoiding mic feedback is the placement of the microphone in relation to other equipment in the studio or live venue. Room mics should be placed away from monitors and loudspeakers as much as possible, as these can cause unwanted reflections which lead to feedback loops. Additionally, sound dampening measures such as foam acoustic panels and carpets can help reduce background noise which could otherwise create interference with your signal chain.
Finally, proper EQ settings are essential for eliminating mic feedback in a room environment. Reducing low end frequencies will make sure you don’t get too much rumble while adjusting mid-high frequency bands will ensure no harshness occurs in recordings or performances. With all these steps taken into consideration, an experienced engineer should have no problem achieving great results when working with room mics!
Conclusion
Tuning room mics for maximum clarity is an art form. With careful attention to detail, you can create a sound that captures the nuances of your source without sacrificing quality or introducing feedback.
To get started, choose the right type of microphone and place it at the optimal distance from the sound source. Adjusting gating and compression settings will help bring out the best in your recordings while EQ settings should be adjusted with precision to achieve clarity and depth. Finally, take time to experiment with techniques like mic positioning and dampening materials that can reduce feedback issues.
With dedication and practice, anyone can become a master at eqing room mics for ultimate clarity. By following this guide step-by-step, audio engineers everywhere can hone their craft and create stunningly clear sounds every time they hit record!
Looking for a one-stop-shop for all your music production needs?
Subscribe to SoundShockAudio and access our vast library of tools, including VST Plugins, DAW templates, sample packs, and more.
Need more help when it comes to EQing? Check out the article, how to eq timpani.
Also check out this other article how to eq metal guitar, for more EQing tips.